The Mad Agriculture Journal
Mo’s Sourdough Starter and Two-Day Sourdough Bread
Published on
November 21, 2024
Written by
Mo Cheeks
Photos by
Jonnah Perkins
The deal with sourdough bread
Sourdough is a naturally fermented bread, distinct from other breads due to its reliance on a “starter” (wild yeast and lactic acid bacteria from the environment) rather than commercial yeast. This unique fermentation process imparts a characteristic tangy flavor to sourdough and contributes to its longer shelf life.
Starter
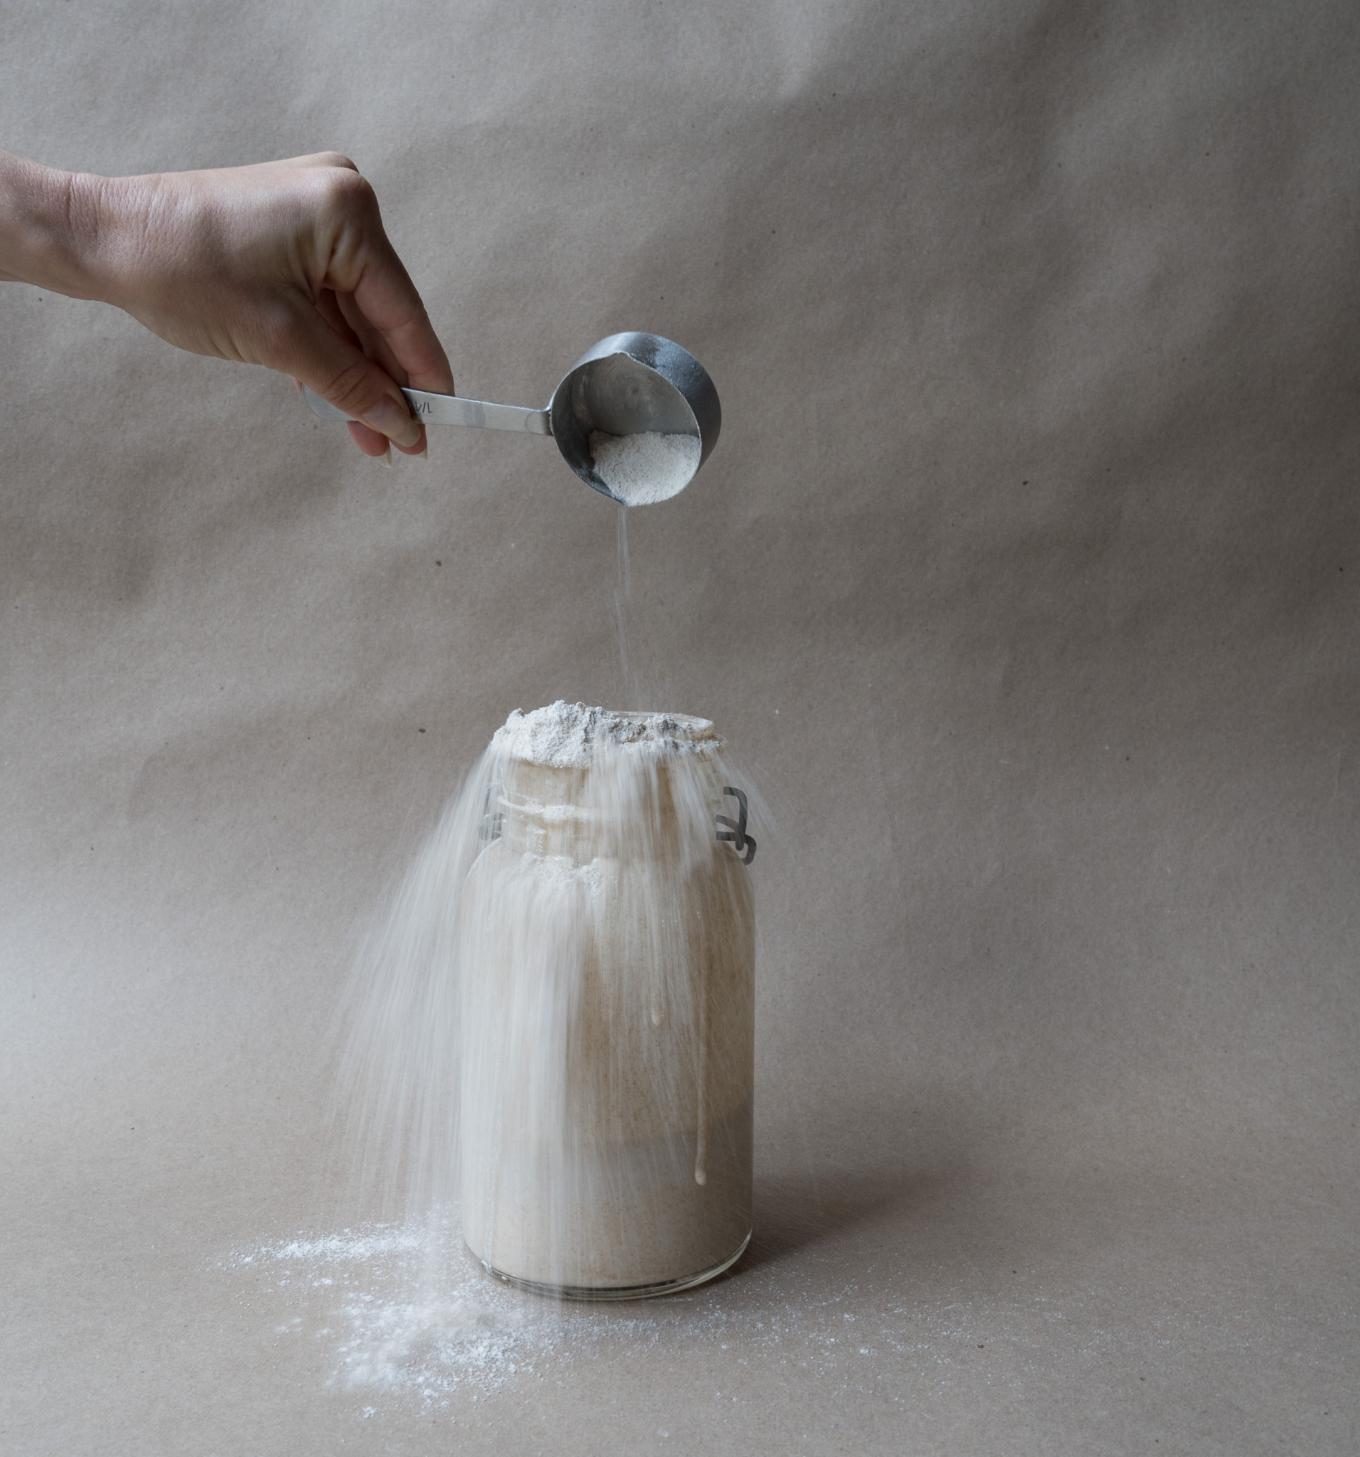
Creating a sourdough starter involves mixing flour and water, which, over time, cultivates wild yeast and bacteria from the environment into a symbiotic relationship.
Different flours matter
Different types of wheat, and their respective milling and sifting processes, yield flours with distinct flavor profiles. The choice of flour determines the interaction with water, the fermentation process with the starter, and the caramelization during baking, all of which influence the texture and taste of the sourdough. Ultimately, choices of flour are critical to the quality and character of the final loaf.
Also, the protein content in flour directly affects the strength and texture of your bread. Higher protein flours, like bread flour, typically have around 12-14% protein and produce breads with a chewier texture due to the stronger gluten network formed. All-purpose flour, with a protein content ranging between 9-12%, offers a middle ground suitable for a wide variety of baked goods. On the lower end, cake and pastry flours possess about 7-9% protein, resulting in a tender crumb ideal for delicate pastries and cakes (and quite poor for a hearty bread). The choice of flour, based on its protein content, is essential to achieving the desired texture and structure in the final product.
Baker’s math
Baker’s math (or baker’s percentage) is a standard measurement method in baking where ingredients are expressed as a percentage of the flour’s weight, which is always set at 100%. This system allows for consistent recipes and easy scaling. For example, in a bread recipe where the flour weighs 1,000 grams and water is 700 grams, the water would be expressed as “70% hydration” in baker’s math. This approach provides clarity on ingredient ratios, making it simpler to adjust the size of the recipe or compare the hydration levels and other component ratios of different bread formulas.
Starter Recipe
Day 1
60g whole wheat flour
60g water
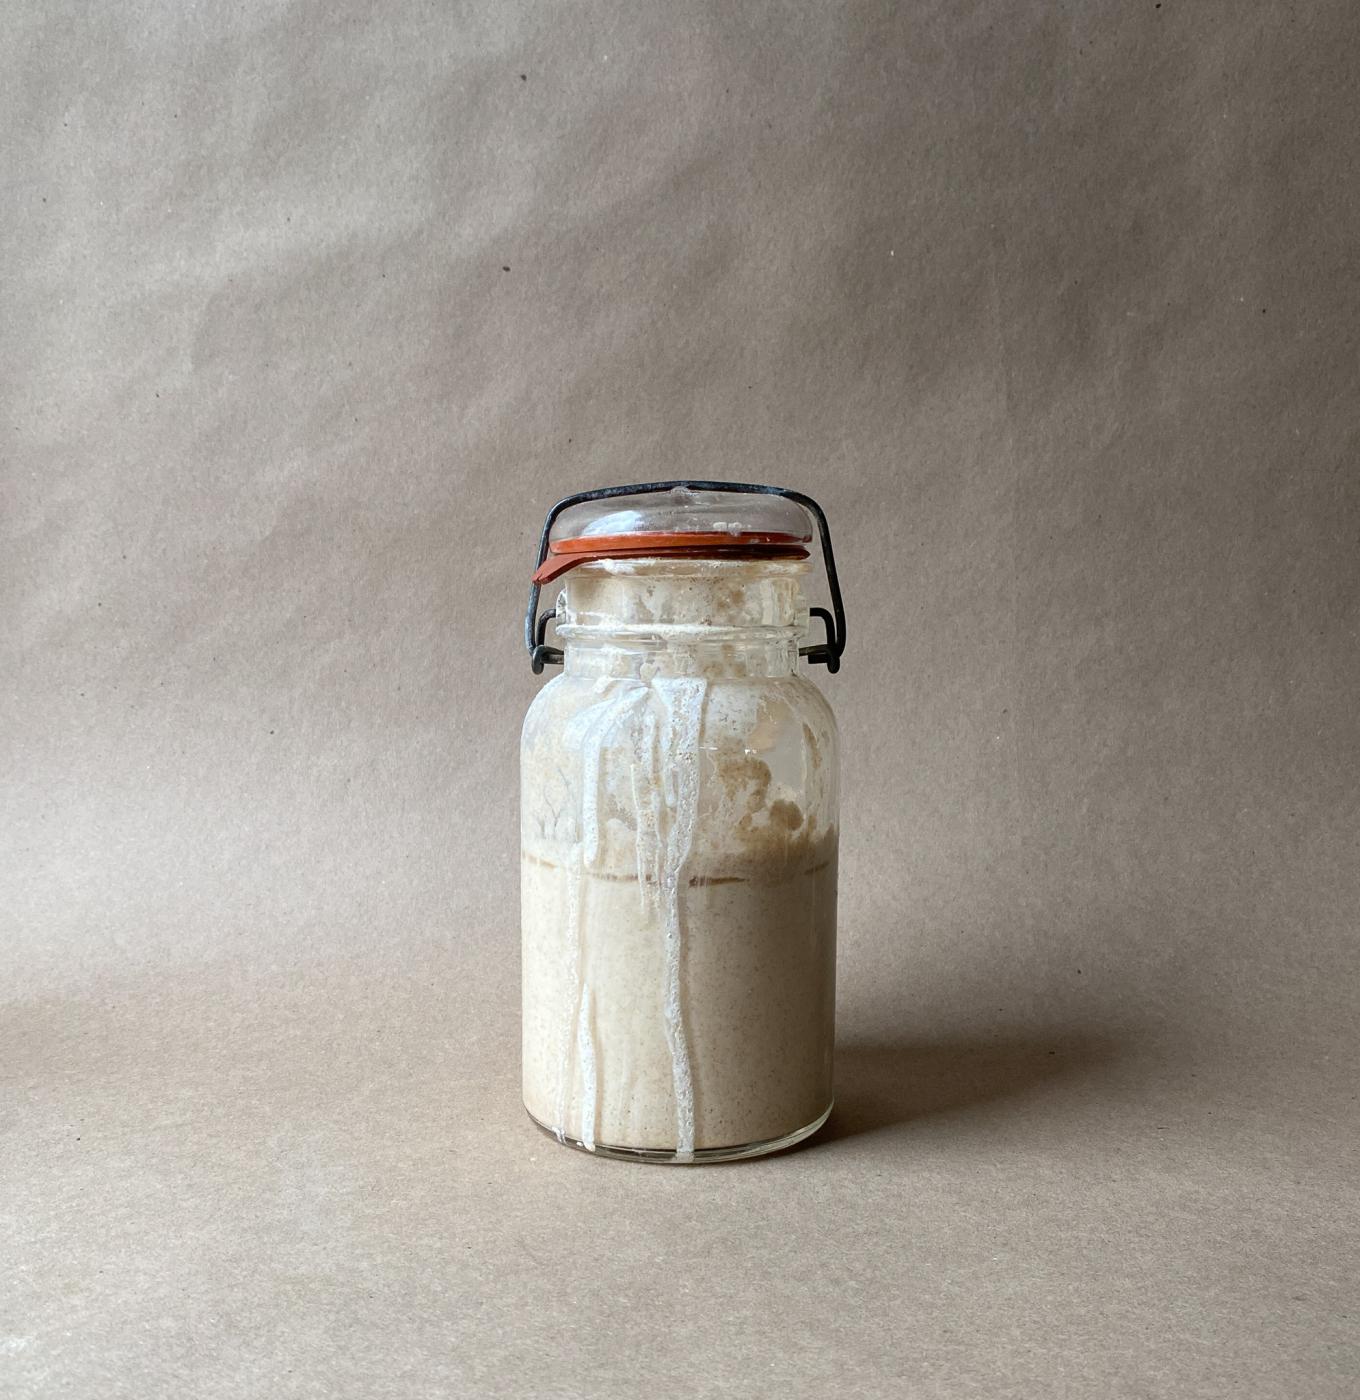
Combine water and flour in a sealable glass jar. Mix with a fork until smooth. Seal or cover the jar with plastic wrap and leave in a warm place, 75-80 degrees, for 24 hours.
Day 2
Check for small bubbles, which are an indication of fermentation.
Day 3-7
Start the feeding process and repeat each day
Feeding
To keep this starter active and thriving, it requires regular feeding. A feeding is adding flour and water to the starter. I recommend a ratio of 1 part starter to 2 parts room temperature water + 2 parts flour. Your starter benefits from consistency in its food. We feed our starter 1/2 whole wheat flour & 1/2 bread flour. Remove and discard half of the starter in your jar. Then combine fresh water and flour with your starter.
30g starter
60g water
30g bread flour
30g whole wheat flour
You can keep your starter at room temperature all of the time if you’re feeding it daily. More practically (and what I do) is to slow down the starter’s activity by predominantly keeping it in the fridge and feeding it as needed, maybe weekly or monthly. Note that a starter feeding could be anything from 1:1:1 to 1:8:8. With any feeding, you’ll know your starter is ready to utilize once it has doubled in size. This would typically take 3-8 hours depending on the feeding ratios, the temperature of the water and/or the temperature of the room.
Day 8
Your starter should be doubled in size with small and large bubbles, which is the fermentation that just took place in your kitchen.
Bread & Justice’s Bread Recipe

A standard formula for sourdough bread based on 1,000g of flour typically looks something like this:
Flour: 1,000g (100%)
Water: 700g - 750g (65%-75% hydration, depending on desired dough consistency and the type of flour used)
Sourdough Starter: 150g - 300g (15%-30% of the flour weight)
Salt: 20g (2% of the flour weight)
The above formula yields a fairly standard sourdough bread with a moderate hydration level, suitable for baking at home. Adjustments to all of these factors can be made depending on your preferences and the conditions of your situation, such as ambient temperature and humidity, flour type, and desired bread characteristics.
When determining what flours to utilize, I strongly encourage you to experiment with different ratios of flours. To begin with, I recommend using ⅔ bread flour and ⅓ whole wheat flour. So based on the formula above, that would be:
Bread Flour: 667g (67%)
Whole Wheat Flour: 333g (33%)
Water: 750g (75%)
Sourdough Starter: 200g (20%)
Salt: 20g (2%)
Initial Mixing
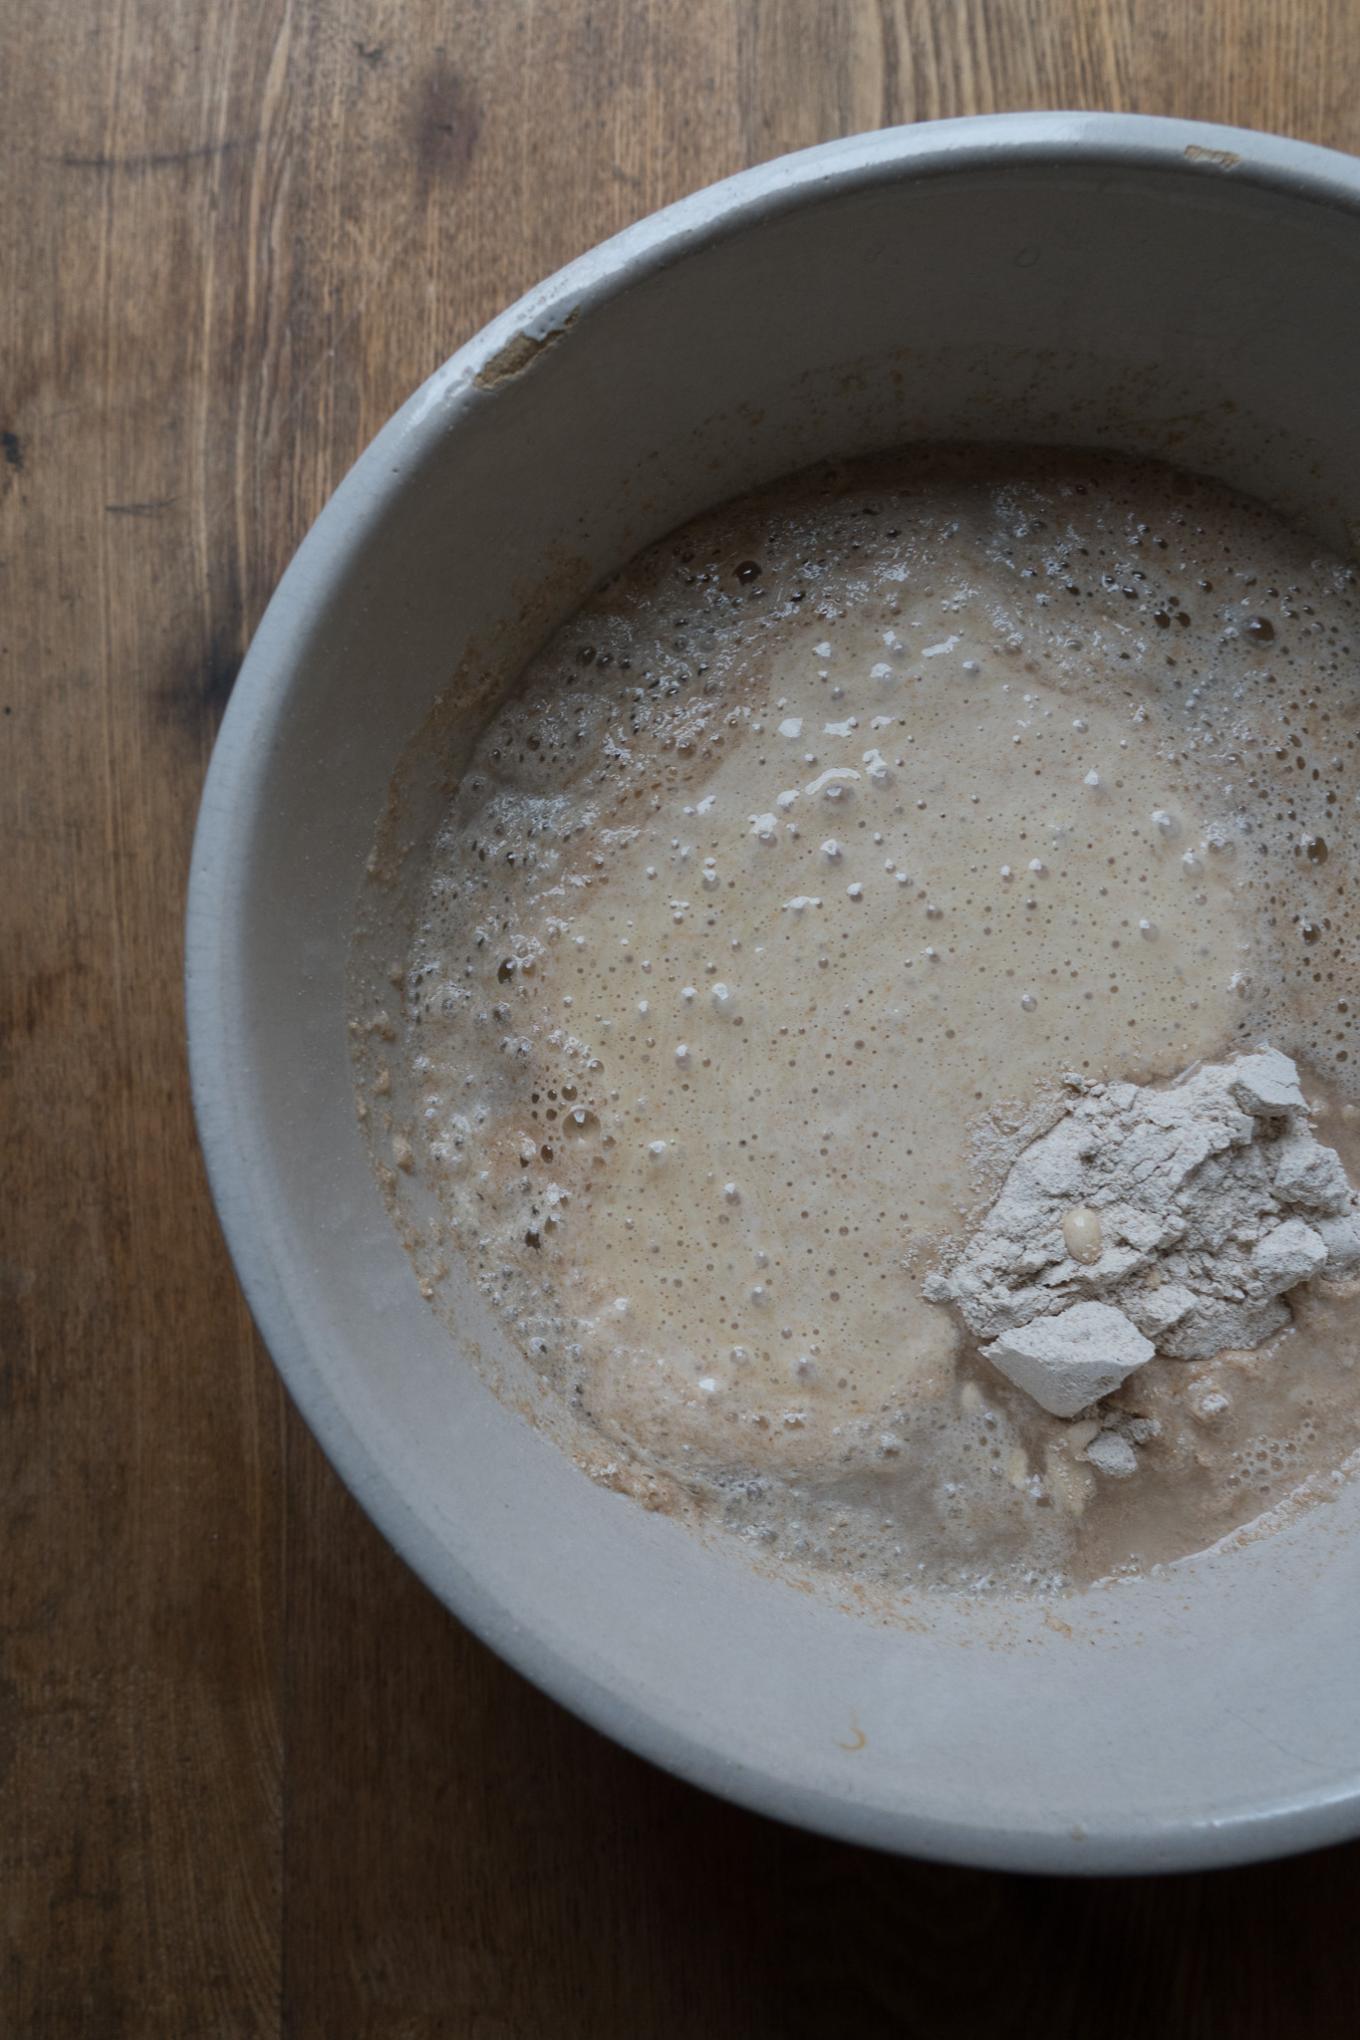
To mix all of your ingredients you can start by combining the flour and water in a large bowl, ensuring they’re well integrated. Once mixed well (this will take at least 2 minutes), let this mixture sit for about 20-45 minutes, a process known as autolyse, which aids in gluten development and hydration. After this resting period, add your active sourdough starter to the mixture, ensuring it’s evenly distributed throughout. Next, incorporate the salt, mixing thoroughly until the dough becomes cohesive and slightly tacky. Cover the bowl with a cloth and set it aside, allowing the dough to begin its fermentation process. Note that you can skip the autolyse process by mixing water, flour, and starter all at once then adding the salt after the mix is partially underway. If you experiment with both approaches, you’ll likely observe that the dough performs differently depending on which approach you take.
Bulk Fermentation
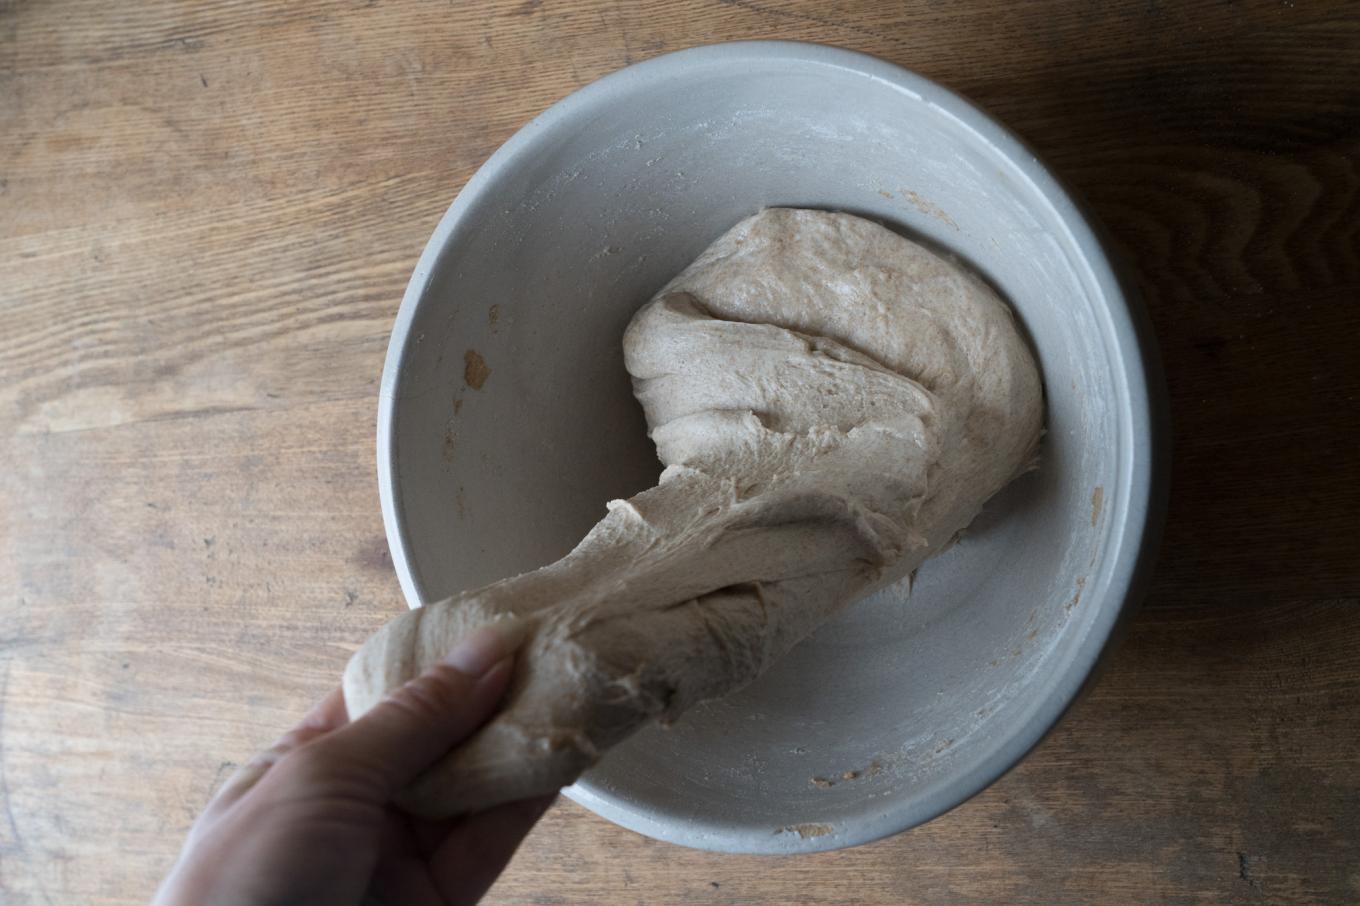
Bulk fermentation is the primary rising period for sourdough, where the dough undergoes most of its expansion and flavor development. This is typically the time period where you’re going to continue to engage with the dough via stretching and folding the dough.
The timeline for this stage can vary, typically ranging from a few hours to overnight, depending on factors like the starter’s activity, dough temperature, and ambient conditions. You should look for the dough to roughly double in volume, exhibit a slightly domed surface, and have a web-like structure when pulled apart. Temperature plays a crucial role in this phase: warmer conditions accelerate fermentation, leading to quicker rises but potentially compromising flavor complexity, while cooler temperatures slow down the process, often resulting in more pronounced sour notes and improved dough structure. Balancing time and temperature is essential for achieving optimal texture and taste in the finished loaf.
Stretch & Fold
Stretching and folding is a technique used to strengthen gluten and improve the dough’s structure during initial bulk fermentation. In this process, the dough is gently grabbed from one side, stretched upward, and then folded over to the opposite side. This action is typically repeated for all four sides of the dough at regular intervals (45 minutes) during the bulk fermentation phase. By doing this, you’ll ensure even fermentation, enhance dough elasticity, and promote a uniform crumb structure in the final loaf. The repetitive action of stretching and folding also traps air within, contributing to a lighter and more open crumb in the baked sourdough bread. You’ll want to do the stretch & folds a total of 4 times across 3-4 hours.
Pre-shaping
The pre-shape helps to organize and strengthen the gluten structure of the dough, which in turn contributes to a better overall shape and crumb structure in the finished loaf. It’s a step that begins to give the dough its form without tightening it too much. During pre-shaping, the dough is gently rounded or shaped into a loose form, often a “round”, circular ball sort of shape. The aim is to create some surface tension without degassing the dough too much. After pre-shaping, the dough is typically allowed to rest, covered, for a period (often 20-30 minutes). This rest, or “bench rest,” allows the gluten to relax, making the final shaping easier and more effective.
Final Shape
The final shaping of a dough batard involves elongating the dough into a slightly tapered cylinder. Your goal is to ensure a taut surface while maintaining a relatively undistributed internal structure of the dough. Proper shaping ensures even expansion during baking, giving the loaf its characteristic shape with a gentle curve on the sides. After this shaping, the dough is typically placed seam-side up in a floured cloth or a proofing basket to support its form. As a next step, choosing to do an overnight cold proof in the fridge offers several benefits: it slows down the fermentation process, allowing for flavor complexities to develop, and firms up the dough, making it easier to handle and score right before baking. This cold proofing process also offers flexibility in timing, so that you can bake the loaf when it’s most convenient, while achieving a desirable balance of taste, texture, and crust coloration.
Scoring
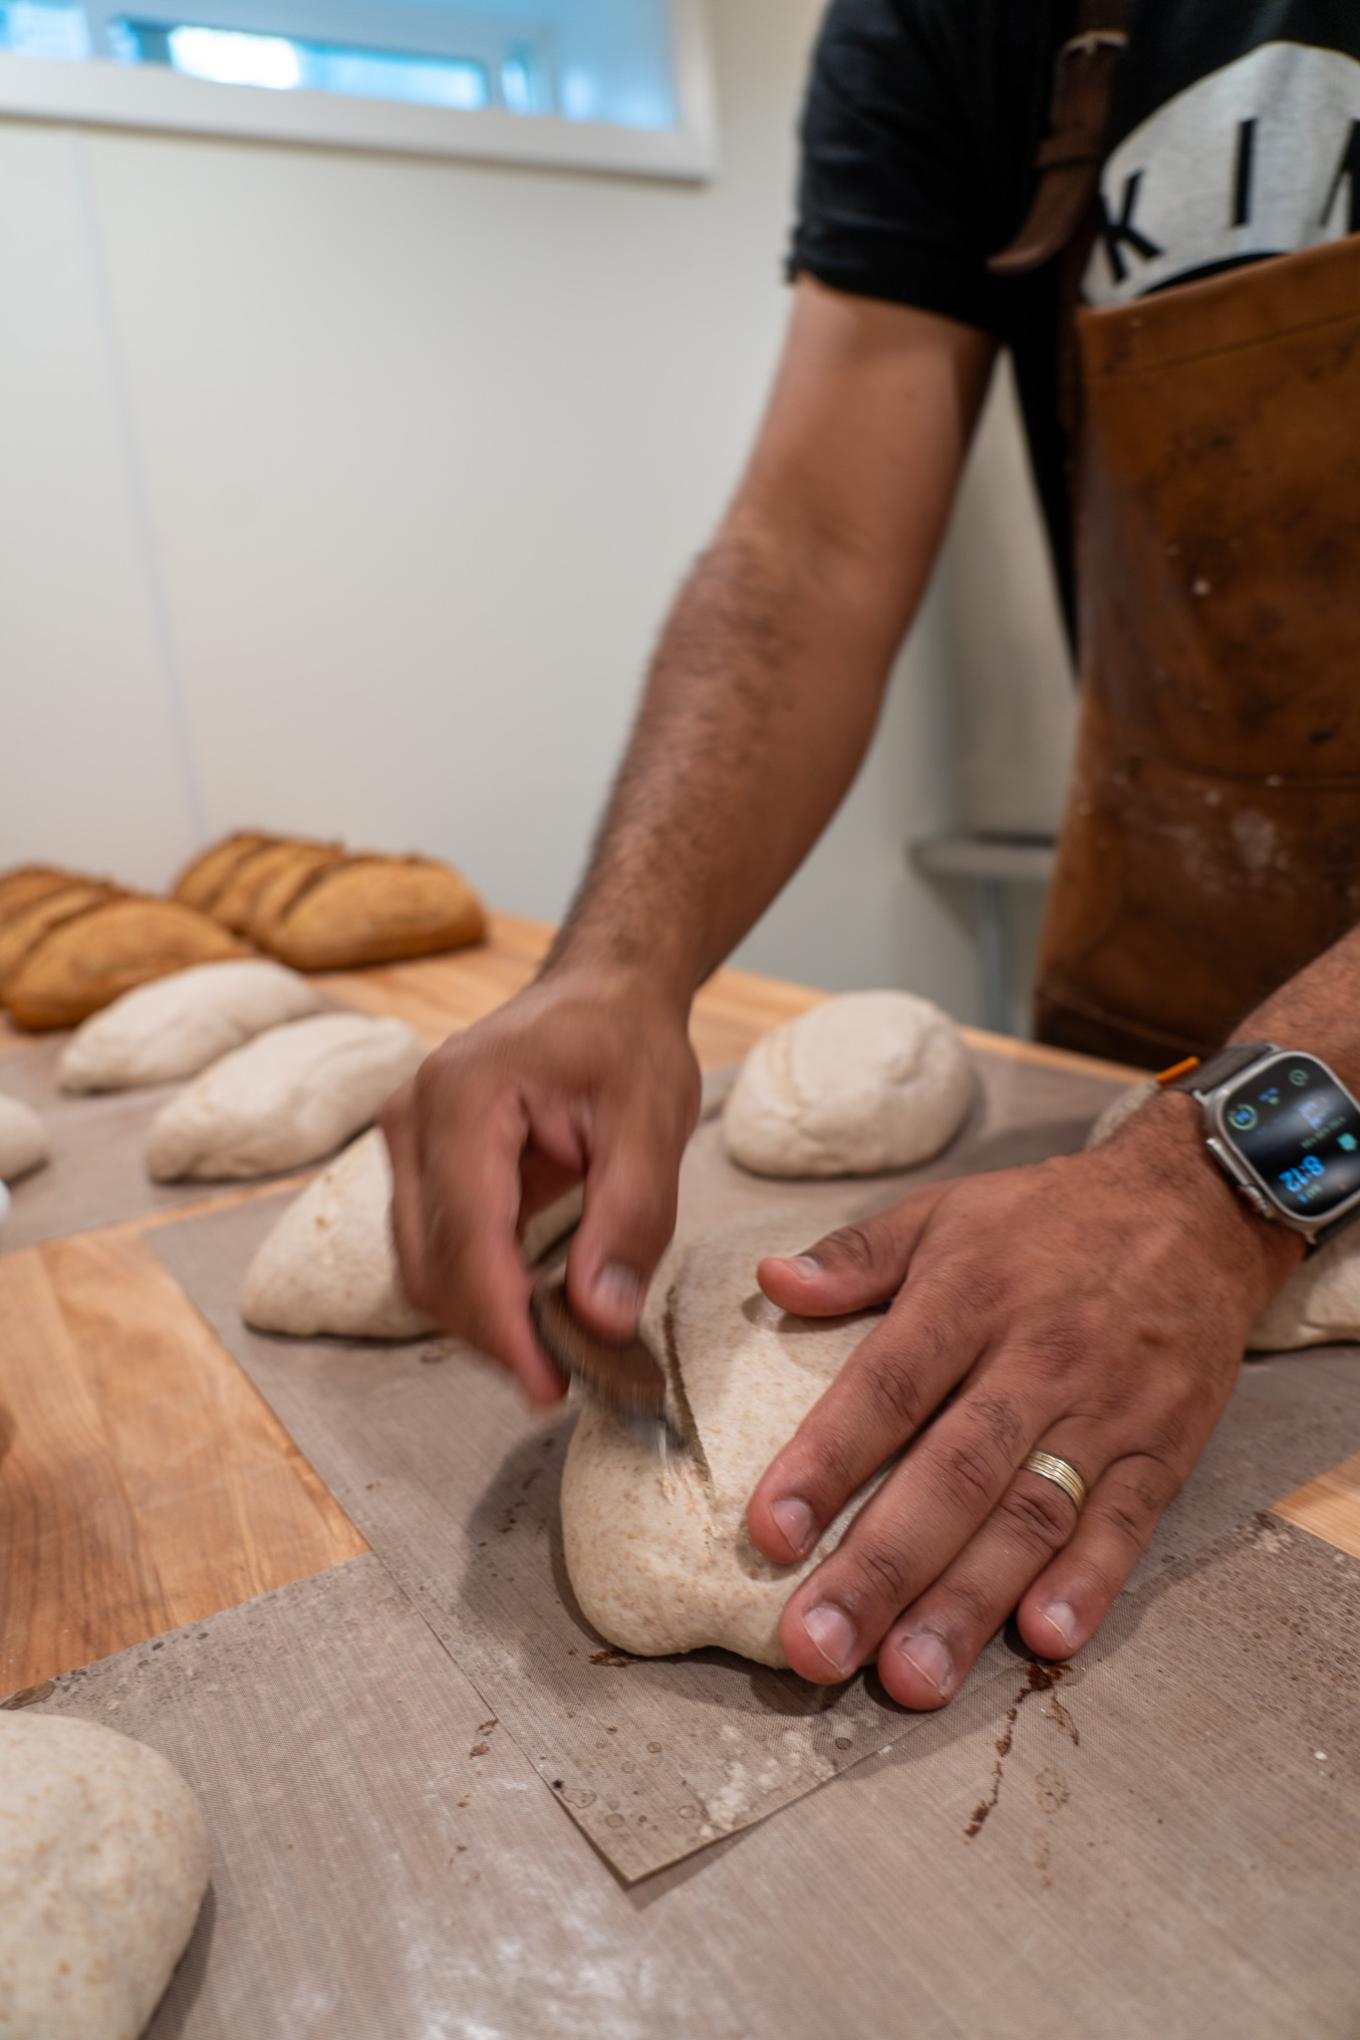
Scoring your dough just before baking allows for controlled expansion of the loaf, preventing random tearing and ensuring a desired shape. Additionally, deliberate cuts add an artistic touch to the finished bread, while also benefiting crust development.
Baking
Baking sourdough bread in a Dutch oven provides an ideal environment for optimal oven spring and crust development. The heavy lid traps steam released by the dough, creating a moist atmosphere that allows the loaf to expand fully in the initial stages of baking. This steam also contributes to a shiny, blistered crust. As the bake progresses, removing the lid allows the crust to harden and achieve a rich, golden hue. Using a Dutch oven essentially mimics the steam-injected ovens found in professional bakeries, for us simple home bakers. The bake times that we found worked were:
Preheat oven & Dutch oven for 45 minutes at 475 F
Bake dough with lid on for 20 minutes
Remove lid & bake for another ~20 minutes
Check your loaf with a food thermometer to ensure it is at least 192 F in the center
After taking out your bread, it is best to let the loaf rest for about an hour before cutting into it. Cutting too early will result in the steam escaping rapidly and the crumb of your remaining bread having a less than ideal texture. But if you’re going to eat the whole loaf quickly, cutting or tearing a fresh, warm loaf to immediately eat is a joyous treat.
