The Mad Agriculture Journal
Milling at Home
Published on
June 19, 2023
Written by
PAUL LEBEAU
Believe it or not, the milling of grains is one of the oldest–if not the first–food preparation practices of humankind. From the moment we dropped out of the trees, we have found nourishment in eating seeds–but only after having broken them open to make their energy-laden contents available to us.
For thousands of years, people were close to their grains, knowing them as a fresh food that required handling as such. The rendering ubiquitous of white flour at the end of the 1800s changed everything. Today, the pendulum is swinging back, as science reveals new reasons for us to embrace grains as a whole food. The advantages of milling whole grains ourselves have become more obvious.
For me, getting started with whole grains back in 2016 was an easy and intriguing pleasure—a guide for which I am happy to share here.
At the heart of home milling is, well, a mill. There are lots of types and models from which to choose. My own experience is largely in stone milling, and that’s what I’ll be focusing on.
So, let’s get started! You’ve chosen and ordered your mill; what else should you have on hand?
You’ll certainly want to have a digital kitchen scale, because soon after you start milling you’ll understand that only the weight of ingredients really counts. Adopting the metric system for your baking and getting used to grams as your key measuring unit will make the process a lot more fun. I hope you’ll also find that you have a good source of wheat berries near you. If not, consider ordering at least 10 pounds of wheat berries along with your mill.
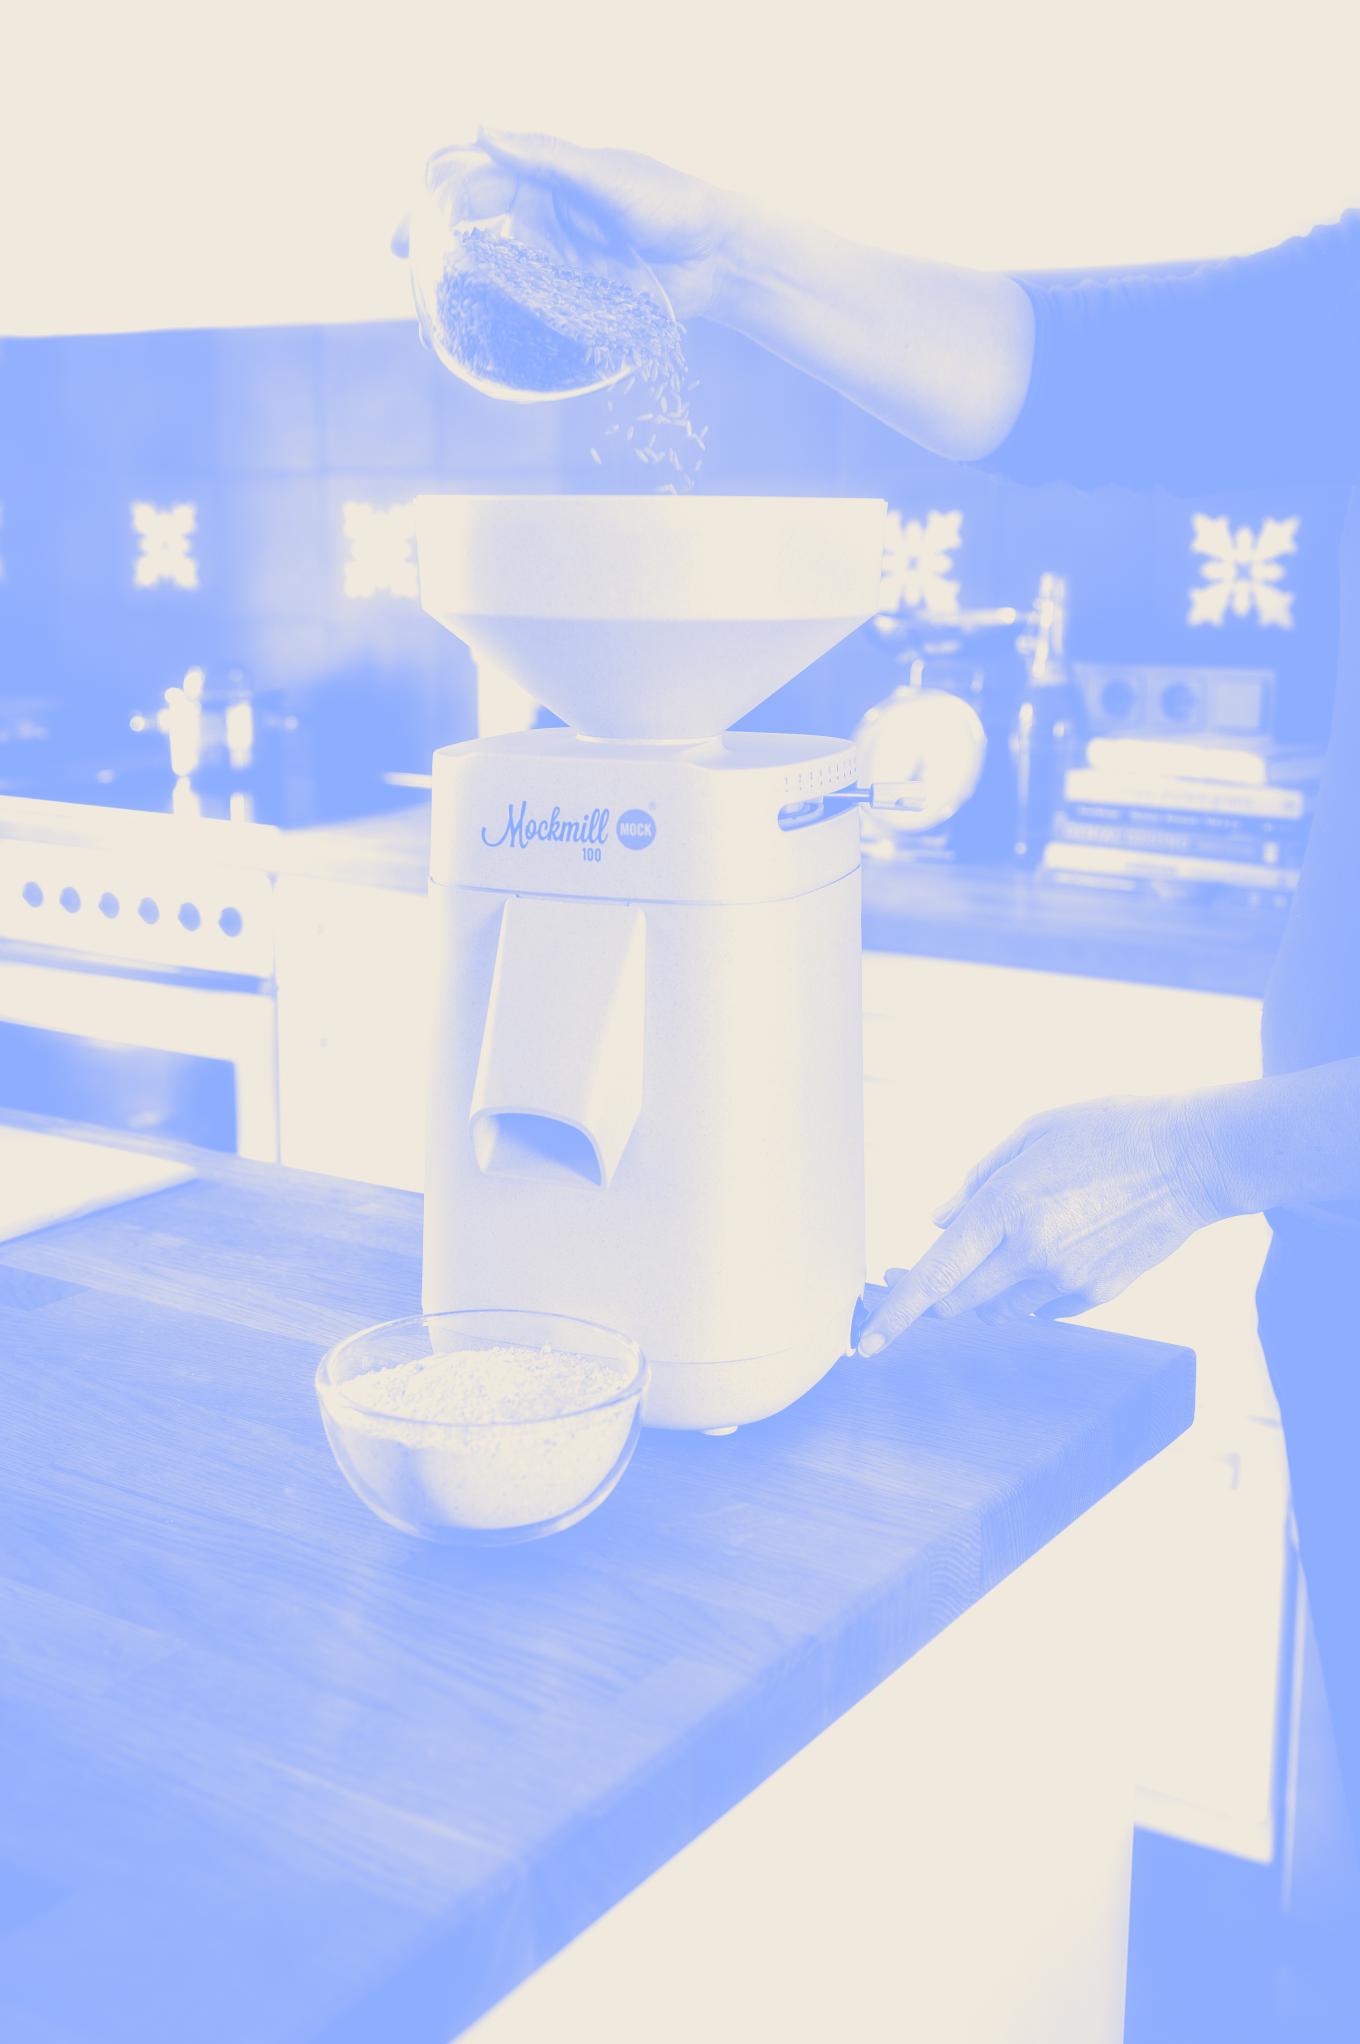
With grains and a scale on hand, you’re ready to get started. First, carefully read the instruction booklet that comes along with your mill. Don’t forget to give the mill an initial cleaning: place a bowl under your mill’s spout, and flip the on-switch. Take a handful of grain (such as rice), and pour it into the mill’s hopper. Any residue on the stone will be carried out with the flour, which you should discard. Now, you’re ready to make flour.
If you’ve always baked with white flour, using cups as a measuring unit, take a moment to try out your new scale. Place an empty measuring cup on the scale, tare it, fill the cup with your usual flour, and put the cup back on the scale. It should weigh about 120 grams. But if that’s not the case, don’t be surprised! Volume measurement of dry ingredients is inherently imprecise. Not only are people’s measurement habits different, but the compactness of flour also varies. Now that you know, however, how to convert your cups-and-spoons recipes to weight-based recipes, simply weigh the volume-measured quantities you’re used to using and note the result. Conversions done!

Let’s say you’re going to make some biscuits that call for two cups of all purpose flour. Simply weigh out 240 grams of wheat berries (given the standard that a cup of flour should weigh about 120 grams). You’re going to want to mill wheat berries on the mill’s finest setting. Be certain that your stone mill is calibrated properly. I like to do this every time I mill, as stone milling is an analogue activity best practiced with the senses. For your first freshly-milled flour:
Set your mill to a setting away from 1 (I like 10).
Turn the mill on, and adjust it to 1.
Pour your wheat berries into the hopper. Immediately, luscious, fine flour will flow out of the spout. Use your senses to evaluate it! Rub some flour between your fingers. Take in the aroma of the freshly-milled flour.
Once the mill empties, re-adjust it (to 10) and turn it off.
That’s the way you’ll make fine whole wheat flour from here on out. You can use that flour 1:1 as a replacement for all purpose flour in your recipes. Expect to need more water with freshly-milled whole grains, as both the bran and the freshly-milled endosperm will absorb more water than processed flour. Start with your normal amount of water and sprinkle in more as you work the flour into a dough. Take note of how much water you used–your scale will help you there, too!
One great advantage of home milling, and of a stone mill, is that you may choose and use infinitely variable milling grades. You can easily go from the very fine flour you have just made all the way out to just breaking the whole kernels, stopping anywhere you wish along the way to get the product you want.
Keep in mind that all grains will produce powder as they are broken under pressure. In order to get an homogenous cracked grain product, for example, you’ll use your sieve (or a coarse kitchen strainer) to take out the powder. The powder you can run back through your mill on “fine” to be used as flour. Experiment with different grades for making cereals (soak just-broken kernels in water with a little salt overnight; in the morning you’ll have a nice cold porridge you can warm up, or even eat cold, for breakfast). Rye bread recipes often call for coarser flour; try different grades to find out what pleases you most. You’re a miller now!

The power is now in your hands to begin enjoying nutrient-dense foods the way Nature intended: eating all the fiber that She includes in foods, from which we can directly derive glucose. That fiber, after all, is there to feed the bacteria in our gut microbiome. Without it, our system falls out of balance, and disease ensues. You’ve probably read of late that hardly any of us are regularly consuming the amount of fiber that is recommended.
Wheat, milled whole and fresh, is a great source of fiber. In fact, wheat is a wonder in itself. Only wheat contains functional gluten, two proteins between which hydrogen bonds are formed when we add water to wheat flour. Every other seed powder to which we add water gives us dough, a mass out of which we can easily dig a forkful. Wheat alone gives us a dough, a mass that behaves as a unit, that has to be cut or torn to be divided. That characteristic of wheat allows the trapping of fermentation gas in the dough, which gives bread the lightness, the ease of chewing that made it “humankind’s food”.
Today, wheat contributes around 20-25% of the calories we consume. That’s enormous when one considers the variety of edible plants from which we have to choose (and the fact that 95% of that wheat-based-food is highly refined, low fiber wheat flour).
So now, having made your start on wheat, you can begin looking around for other things to mill, things with which to enrich your creativity and thus your creations. There’s a very long list of readily accessible foods you can mill into flour as a replacement for some of the wheat flour you might normally use–or for all of it! Using your mill, you can sample Nature’s offerings as you go along and discover new ways to put more variety into your cooking and baking.
Your mill will allow you to transform any whole, dry food into fine flour. As you get started, avoid anything that may be: too oily (nuts and oilseeds), too moist (incompletely dried grains, pulses, or other seeds), too gummy (sugary, as with dried fruits), or too hard (pre-cooked foods such as parboiled rice, steam-toasted buckwheat, tapioca pearls).
Go, then, for the huge array of natural-state grains available: cereals (wheats, barleys, ryes, rices, oats, corn, sorghum, millet, teff), pseudocereals (buckwheat, amaranth, quinoa, cañahua) and pulses (beans, lentils, chickpeas, peas, sweet lupin, soybeans).
If you really get into milling, you’ll learn how to include a lot more foods to enrich your creations. For starters, however, the foods in the three above groups will greatly enhance the nutritional and taste profiles of anything you prepare, whether hearty or sweet. Even for delicate dishes, you’ll find that whole grains like brown rice or oats bring gentle flavors and textures, along with great flavors and the fiber and minerals our body needs, which are missing from most refined foods.
One thing to remember about these whole-food flours: they’ll serve you all the better when you use fermentation, water, and heat to inactivate the protective substances Nature builds into seeds. Called “anti-nutrients”, and often built into the fiber-rich outer layers of seeds, these natural guardians expire once the seed is subjected to moisture and warmth as it would be to begin the germination process. So, don’t eat your fresh flours raw! Hydrate them well, and cook or bake them well. Fermentation, when used, will break down their long sugar chains, reducing the amount of fermentation to be done in your gut later.
When you make your own flours just-in-time, using a good variety of whole-food inputs, you’ll be eating the way Nature intended. And you’ll be discovering the bounty of foods available to us if we just look around. You may find yourself brimming with new crop ideas.
We at Mockmill are pleased and proud that thousands of families take up home milling with our products every year. Check out our offering at mockmill.com, and be assured that we’re right there with you, every step of the way.
